7 March 2011

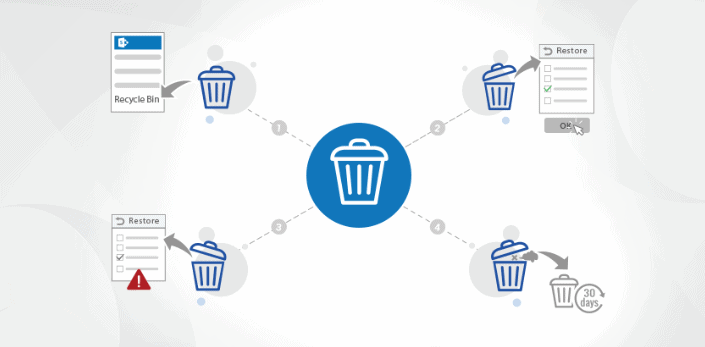
The recycle bin in SharePoint is used to help site users to protect and recovery of data.
You need to verify first that the account you are using to configure the recycle is a member of Farm administrator.
Go to the central admin site and click on “Application management” tab
From the “Application Management” page, click “Manage web application” link.
Select a web application on which you want to configure the recycle bin. (The ribbon will be active).
Click the “General Settings” dropdown menu from the ribbon and click “General Settings”.
You are on the web application setting page; in the recycle bin section you can do the configuration as following.
You can set the recycle bin for the web application “ON” or “OFF” mode, By default it will be “ON”
Also you can set the timing, after how long an item will be removed from recycle bin automatically.
You can also configure a percentage of live site quota for second-stage deleted items.
After you done the setting’s , click “OK”
Jimmy Kozner
Congratulations on having one of the most sophisticated blogs Ive come across in some time! Its just incredible how much you can take away from something simply because of how visually beautiful it is. Youve put together a great blog space –great graphics, videos, layout. This is definitely a must-see blog!
Development services
Thats really helpful that to configure recycle bin in share point. keep up the good work. I did not knew ed before reading this post.